
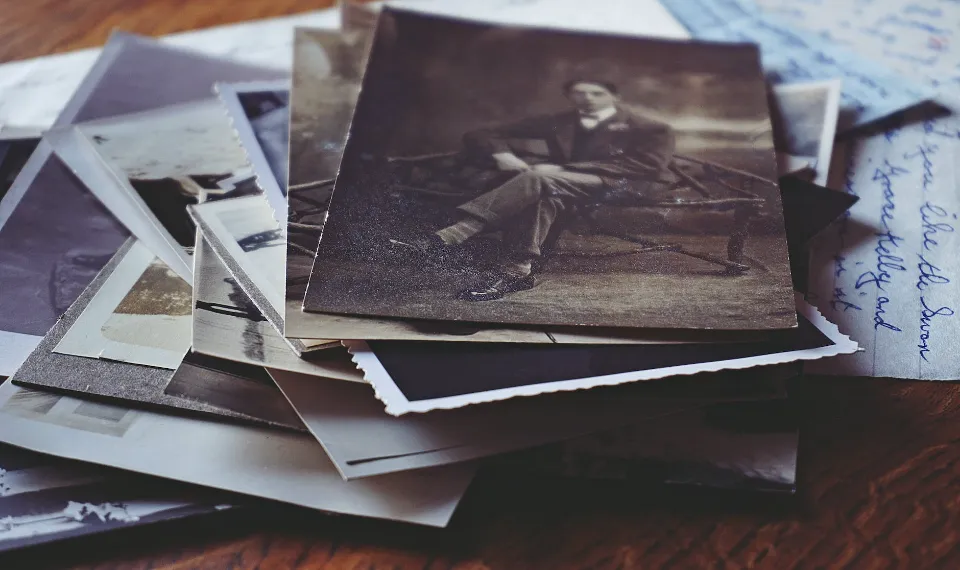
Even if you only take pictures of your loved ones and on special occasions, photos still have a way of piling up over time. If you have a family member who is a photographer, you will take more pictures, and if you’re not careful, they will invade every corner of your house.
The issue is that the images fade. Age can cause color changes in photographs. The longer they remain exposed, the more likely it is that moisture, pests, rodents, fire, and other hazards will harm them. You can keep your old photos for years to come by organizing and digitizing them. But how do you arrange old pictures? Where do you even begin?
How to Organize Old Photos?
#1 Setting the Pace
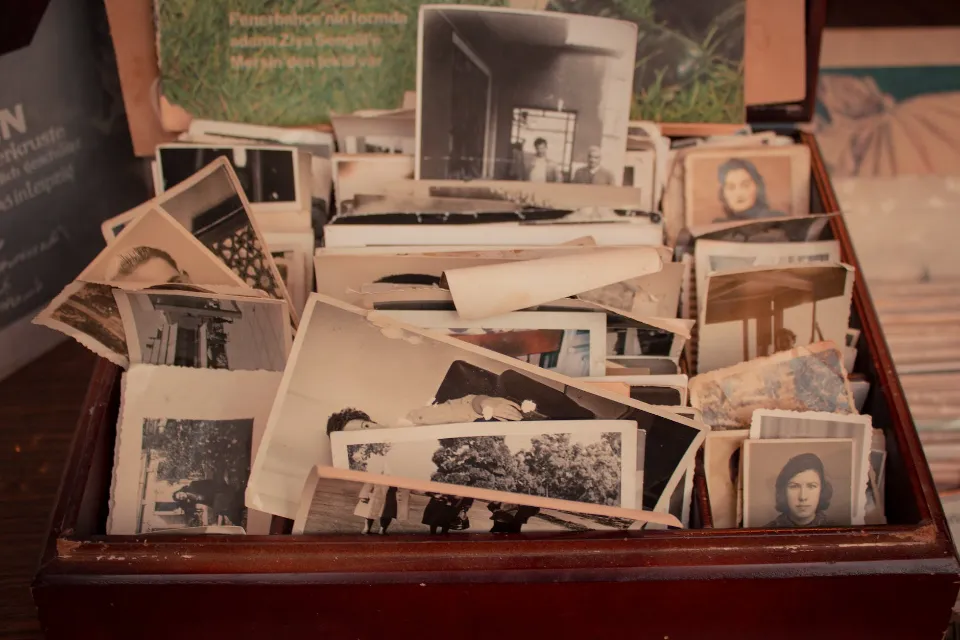
Don’t attempt to process all of your photos at once. If you try to accomplish it all at once, you’ll lose motivation because it’s an unattainable goal. You’ll need to work for at least an hour to make any progress, but don’t expect to work continuously for longer than two hours at a time. Find a cozy spot to sit, grab one or two boxes or albums, and organize your photos into different categories. Then, leave the boxes or albums out for a few weeks.
#2 Getting Started
Beginning with albums is simple. Although the photos in the albums are arranged, the plastic and sticky pages covered in acidic glue strips can cause the images to deteriorate. Additionally, large albums occupy a lot of room on bookcases, in closets, and in storage containers. Removing the need for albums will help you reclaim some of that space.
Maintaining the original order of arrangement, take the pictures out of the albums (experts advise using dental floss). You should stack the cards in chronological order and label the stacks with the event, month, and/or year, if the backs aren’t too sticky.
#3 Making a Plan
Decide how you want to organize them within the first hour and before you have taken hundreds of photos. There is no “right” way to categorize or organize your pictures — go with whatever makes the most sense to you.
Don’t get caught up in trying to arrange the pictures in chronological order because they are old pictures that are probably not clearly dated. Instead, consider arranging photos according to decades, locations, or broad time periods. For instance, “Akron, Ohio, 1980-1987, Elementary School,” or “1970–1979 family portraits.” Make stacks with labels.
#4 Rethinking Storage
It’s a significant accomplishment to have finished all of the culling and organization of your photos. Many people will stop there and are happy to organize the photos into a box with a label and store them in a basement closet.
There’s also no real need to spend a lot of money on fancy archival storage boxes or pricey albums because the majority of people’s photo collections have been moved from house to house in flimsy cardboard boxes and have survived. However, I do advise using shoe box-sized boxes that can hold a single category of photos and are portable.
For 4-by-6-inch and smaller photos, actual shoe boxes or containers of a comparable size, as well as photo boxes purchased from craft stores, work well. Larger photos can be kept in larger document boxes or labeled manila folders.
Tips for Processing and Sorting Your Photos
You can efficiently organize your photos using the advice in this article and keep them safe.
- Review and sort your photos on a large, flat surface like a table in an area that is not prone to drafts or is under a fan
- Have several boxes or containers to put your photos in as you sort them
- Try to keep the negatives with the photos
- Take into account discarding blurry or unusable photos (heads cut off, etc.).)
- Decide what you want to do with duplicates, whether you want to keep them, give them to other family members, or discard them
- Handle photos with photo gloves or cotton gloves
- Use an acid-free photo pen to write on the backs of photos
- Keep photos that you may be able to fix using PhotoShop once you digitize them
- Use index cards to make notes or to label each photo collection
#5 Digitizing Photos
Another choice is to have all of your newly arranged photos scanned and digitalized, which will enable you to discard the prints and send friends and family easy-to-share electronic copies. A number of online businesses, including ScanCafe, DigMyPics, ScanMyPhotos, and Legacybox, offer this service for a fee per print. Similar services are probably offered by your nearby photo or office supply store.
Use a Digitizing Service
Going with a photo scanning service may cost a little more up front, but once you account for the price of buying a scanner and the time you will spend scanning photos, the cost of a photo scanning service is lower. If you want something that won’t take up a lot of your time and energy, this is the best option because it is simple, quick, and hassle-free.
Create An Organizational System
You must arrange your digital photos after you’ve done so. To find what you’re looking for quickly and easily, good photo management practices include naming files for easier searching, creating folders to improve sorting, and creating an index. Include the date, event, pertinent names, or other keywords that will enable you to search your photos and locate what you need. You can also add information to the file to make it simpler.
Backup Your Digital Files
After digitizing your photos, you should create a backup as soon as possible. There are other options besides cloud storage that are more cost-effective, secure, and easier to use for storing your photo library and all of your electronic files, including digital photos. You can also use Google Photos, an external hard drive, CDs, DropBox, Google Drive, and other types of cloud storage. But the best thing about cloud storage is that you can expand your storage as you require it to store more digital photos. It is portable and simple to access on all of your digital devices, including a Mac, iPhone, Android, Tablet, or PC.
Conclusion
Your daily life won’t be significantly affected by going through decades-old photos, but it’s still worthwhile to do it. Additionally, if you finish this project before the holidays, you might be able to give your found gems or prints to family as gifts.